Sod Levelling Guide: A Comprehensive Approach (Updated 04/28/2026)
Achieving a lush, even lawn begins with proper levelling! This guide details spreading topsoil evenly, amending with compost for fertility, and ensuring excellent drainage.
Understanding the Importance of Proper Sod Levelling
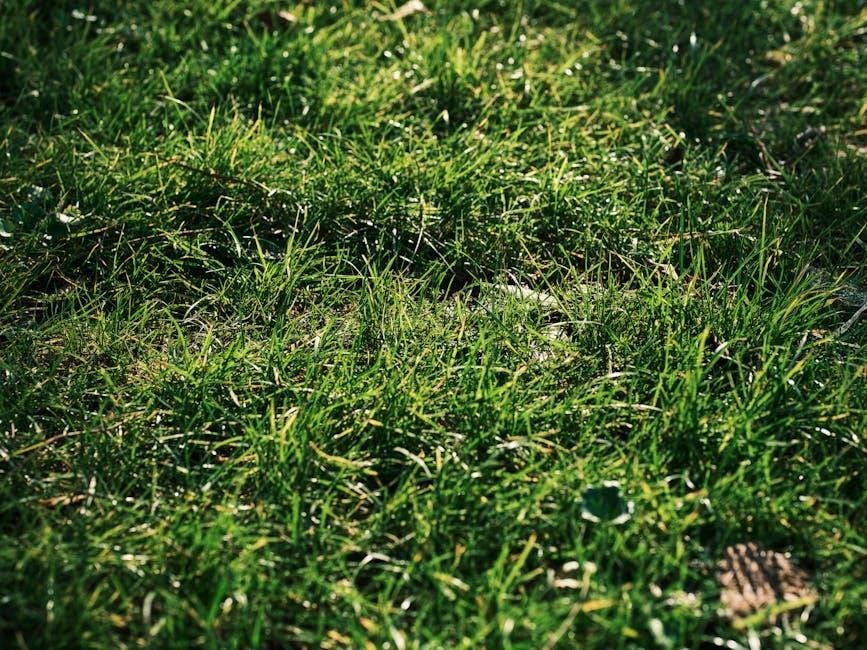
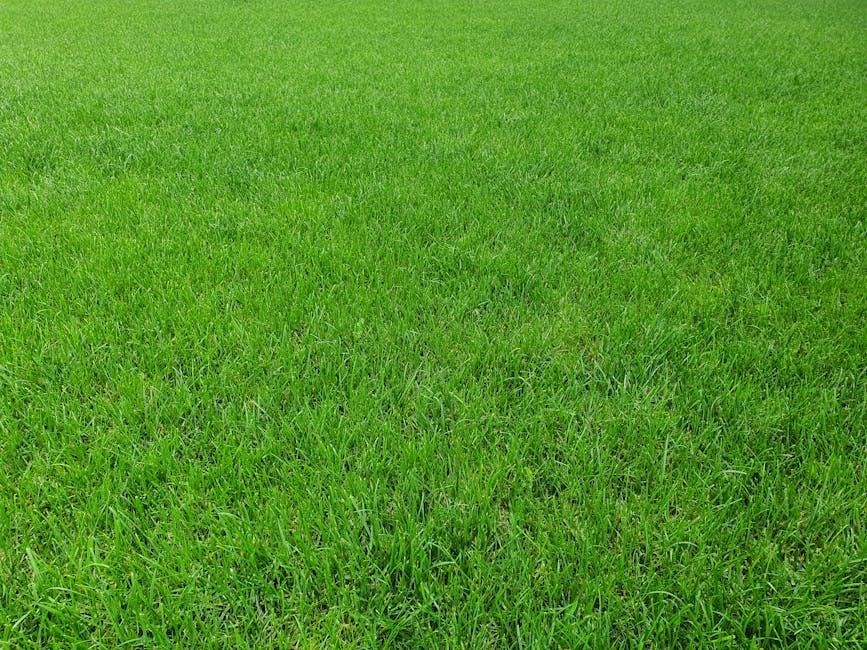
Proper sod levelling is fundamental to a thriving lawn, extending far beyond mere aesthetics. Uneven ground leads to inconsistent watering, causing dry patches and promoting weed growth. Level surfaces ensure uniform root development, vital for a resilient turf.
Effective levelling dramatically improves drainage, preventing waterlogging and subsequent fungal diseases. A smoothly graded yard also facilitates easier mowing and maintenance, saving time and effort. Furthermore, a level lawn maximizes usable space for recreation and enhances overall property value. Ignoring this crucial step can result in costly repairs and a perpetually frustrating landscape. Prioritizing levelling sets the stage for a beautiful, healthy lawn for years to come.
Assessing Your Yard’s Slope and Drainage
Before beginning, a thorough assessment of your yard’s existing conditions is crucial. Start by visually inspecting the slope – identify high and low areas. Use a long level and straight board to pinpoint significant variations.
Next, evaluate drainage. After rainfall, observe where water pools and how quickly it dissipates. Poor drainage indicates compacted soil or low spots requiring attention. Consider a simple percolation test: dig a hole, fill it with water, and time how long it takes to drain. This reveals soil’s absorption rate. Accurate assessment informs your levelling strategy, ensuring effective water runoff and a healthy foundation for your new sod.

Tools and Materials Required for Sod Levelling
Successful sod levelling demands the right tools! You’ll need shovels, rakes, levels, and potentially power equipment, alongside quality topsoil and soil amendments.
Essential Hand Tools
For meticulous sod levelling, a selection of robust hand tools is paramount. A sturdy shovel is crucial for initial soil removal and redistribution, while a landscape rake excels at spreading topsoil evenly across the yard. A metal garden rake further refines the surface, breaking up clumps and creating a smooth seedbed.
Levels – both spirit levels and laser levels (for larger areas) – are indispensable for verifying proper grading and ensuring consistent slopes for effective drainage. Measuring tapes are needed for accurate assessments of yard dimensions and material quantities. Finally, a tamper, either hand-powered or mechanized, is vital for compacting the soil, providing a stable foundation for the new sod and preventing future settling.
Power Equipment Options
For larger yards or significant grading challenges, power equipment dramatically accelerates the sod levelling process. A rototiller efficiently breaks up compacted soil, preparing it for amendment and levelling. Power rakes, with their adjustable tines, quickly remove thatch and debris, creating a cleaner surface.
A skid steer or tractor equipped with a box blade is invaluable for rough grading, moving substantial amounts of soil with ease. Power rollers or plate compactors provide superior soil compaction compared to hand tampers, ensuring a firm base. Finally, a laser level paired with a rotating laser significantly enhances precision, especially when establishing consistent slopes for optimal drainage across expansive lawns.
Types of Soil and Amendments
Selecting the right soil and amendments is crucial for successful sod establishment and long-term health. Topsoil forms the foundation, ideally a loam blend offering balanced drainage and nutrient retention. Avoid soils heavy in clay or sand without amendment.
Compost is a vital amendment, enriching the soil with organic matter, improving structure, and boosting fertility. Peat moss enhances water retention, beneficial for sandy soils. Consider adding well-rotted manure for additional nutrients. For poor drainage, incorporate gypsum to break up clay. Always test your soil’s pH and adjust accordingly with lime (to raise) or sulfur (to lower) before levelling and sod installation.
Step-by-Step Sod Levelling Process
Begin by clearing debris, then rough grade for basic level, followed by fine grading for smoothness. Compact the soil firmly before sod installation!
Initial Site Preparation: Clearing Debris
Before embarking on the sod levelling journey, meticulous site preparation is paramount. This crucial first step involves a thorough removal of all existing debris from the intended lawn area. Rocks, stones, sticks, roots, and any other obstructions must be diligently collected and discarded.
Pay close attention to hidden debris just beneath the surface; a careful raking will reveal these potential problems. Removing these items prevents future unevenness and ensures the new sod establishes consistent contact with the underlying soil.
Furthermore, address any existing vegetation – weeds, old grass, or unwanted plants – by removing them completely, including their root systems. A clean slate is essential for successful sod installation and a beautiful, thriving lawn.
Rough Grading: Establishing the Basic Level
Following debris removal, rough grading establishes the foundational level for your new lawn. This stage focuses on addressing significant high and low spots across the yard. Utilize shovels and rakes to move substantial amounts of soil, aiming to create a generally even surface.
Don’t strive for perfection at this point; the goal is to eliminate drastic slopes and create a relatively uniform base. Consider the desired final grade and ensure positive drainage away from structures.
Regularly check your progress with a long level or straight edge to identify remaining major discrepancies. This initial levelling sets the stage for the more precise fine grading that follows, ensuring a smooth and stable foundation for your sod.
Fine Grading: Achieving a Smooth Surface
After rough grading, fine grading refines the surface for optimal sod installation. This crucial step demands meticulous attention to detail, utilizing rakes to smooth out minor imperfections and create a consistently level plane.
Focus on eliminating small bumps and depressions, ensuring a seamless transition across the entire yard. A landscape rake is invaluable for this process, allowing for precise soil manipulation.
Regularly check for low spots where water might pool, and address them accordingly. The goal is a surface that is uniformly smooth and slightly sloped for effective drainage, providing an ideal foundation for healthy root establishment and a beautiful, even lawn.
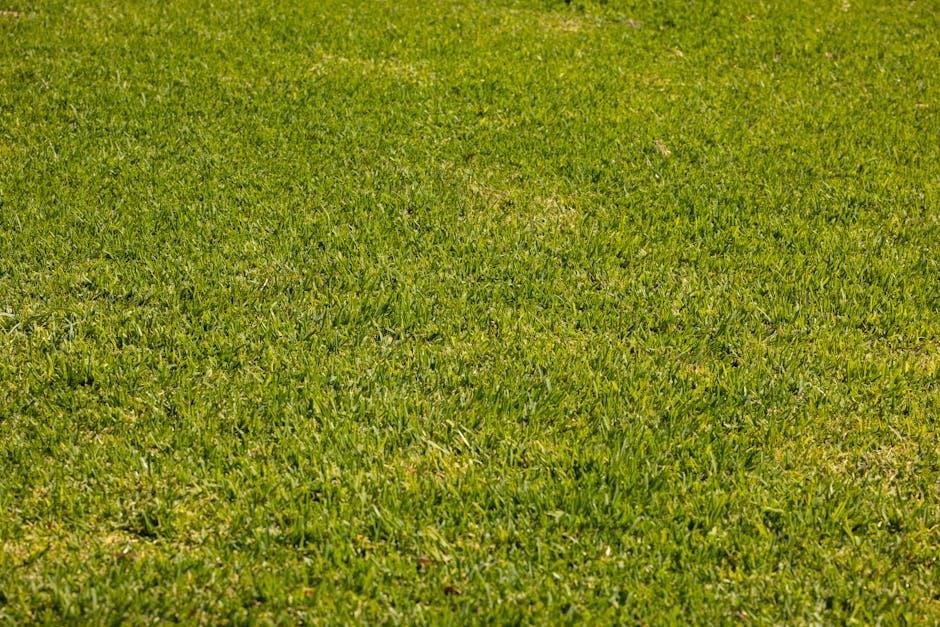
Soil Compaction: Ensuring Stability
Proper soil compaction is vital after grading, creating a firm base for sod to root successfully. Light compaction prevents settling and ensures good contact between the sod roots and the underlying soil. Avoid over-compaction, which can hinder root growth and impede drainage.
A lawn roller, filled partially with water, is an excellent tool for achieving optimal compaction. Make several passes, overlapping each run slightly, to ensure even coverage.
The soil should be firm but not rock-hard; you should be able to leave a slight footprint. This stable foundation minimizes shifting and promotes healthy, long-lasting sod establishment, resulting in a beautiful and resilient lawn.

Sod Selection and Preparation
Choosing the right sod and preparing it correctly are key! Select a climate-appropriate type and store it properly, ready for a seamless installation.
Choosing the Right Sod Type for Your Climate
Selecting the appropriate sod variety is paramount for long-term success. Different grasses thrive in varying climates, impacting establishment and overall health. Cool-season grasses, like Kentucky bluegrass, perennial ryegrass, and fescues, excel in northern regions with cold winters and moderate summers. These require ample moisture and benefit from shaded areas.
Warm-season grasses, such as Bermuda, Zoysia, and St. Augustine, flourish in southern climates characterized by hot summers and mild winters. They exhibit excellent heat tolerance but may go dormant during colder periods. Consider your local rainfall patterns, sunlight exposure, and soil type when making your selection. Consulting with a local sod supplier can provide tailored recommendations based on your specific geographic location and lawn conditions, ensuring a vibrant and resilient turf.
Sod Delivery and Storage Best Practices
Prompt handling of delivered sod is crucial for maintaining its viability. Schedule delivery for the day of installation to minimize storage time. Upon arrival, inspect the sod for dryness or signs of damage. If immediate installation isn’t possible, proper storage is essential.
Keep sod pallets elevated off the ground, ideally on wooden supports, and covered with a tarp to protect from direct sunlight and excessive heat. Avoid stacking pallets excessively high, as this can cause bottom layers to overheat and deteriorate. Regularly moisten the sod, especially during warm weather, to prevent it from drying out. Aim for installation within 24-48 hours of delivery for optimal results and a healthy, thriving lawn.
Preparing the Sod for Installation
Before laying sod, a final preparation step ensures optimal root-to-soil contact. Lightly dampen the subgrade soil immediately before installation – it should be moist, but not soggy. This helps the sod adhere and encourages rapid root development.
If the sod has been stored, gently break apart any tightly bound sections. Avoid excessive handling, which can damage the delicate root system. Consider a starter fertilizer application according to package directions, mixed with water, before laying the first row. This provides essential nutrients for initial growth. Proper preparation maximizes the chances of successful establishment and a beautiful, resilient lawn.

Sod Installation Techniques
Begin by carefully laying the first row, ensuring tight seams! Stagger subsequent rows like brickwork for a seamless, robust, and visually appealing finished lawn surface.
Laying the First Row of Sod
Starting straight is crucial for a professional finish! Begin laying the first row of sod along the longest straight edge of your levelled yard. Ensure the sod pieces are butted tightly together, avoiding any gaps or overlaps. A slight overlap is preferable to gaps, as gaps will cause settling and unevenness.
Use a sharp knife or sod cutter to make clean, precise cuts. Avoid stretching the sod, as this can create voids underneath. Focus on maintaining a consistent direction for the sod’s grain – typically running perpendicular to the prevailing slope. This helps with root establishment and prevents erosion. Proper alignment from the outset dramatically simplifies the entire installation process, guaranteeing a beautiful, uniform lawn.
Staggering Sod Rows for Seamless Appearance
Brick-laying patterns are key to a robust lawn! After laying the first row, stagger subsequent rows by at least half a sod piece. This “brick-laying” or staggered pattern is vital for creating a seamless, structurally sound lawn. It prevents long, vertical seams that can easily separate, leading to unsightly gaps and potential erosion.
Staggering distributes the weight and stress across the entire sod surface, encouraging stronger root intergrowth. Carefully interlock each piece, ensuring tight contact with the soil below. Avoid creating H-shaped seams. This technique minimizes visible lines and promotes a more natural, aesthetically pleasing appearance, resulting in a durable and visually appealing turf.
Cutting and Fitting Sod Around Obstacles
Precision is paramount when navigating lawn features! When encountering trees, flowerbeds, or other obstacles, carefully measure and cut the sod to fit snugly around them. A sharp sod cutter or sturdy utility knife is essential for clean, precise cuts. Avoid tearing the sod, as this can lead to uneven edges and poor root establishment.
Create jigsaw-puzzle-like pieces, ensuring each section interlocks tightly with the surrounding sod. For curved areas, make multiple smaller cuts rather than attempting a single large curve. Backfill any gaps with topsoil and gently tamp down to create a seamless transition; This meticulous approach guarantees a professional finish and prevents unsightly gaps or uneven growth.
Post-Installation Care and Maintenance
Consistent care is key to a thriving lawn! Initial watering establishes root contact, while a strategic fertilization schedule and mindful mowing promote healthy growth.
Initial Watering: Establishing Root Contact
Immediate and thorough watering is paramount after sod installation. The goal is to saturate both the sod and the underlying soil, fostering crucial root-to-soil contact. Water deeply and frequently during the first two weeks, aiming for approximately 1 inch of water daily. This can be achieved through multiple short watering cycles rather than one prolonged session, preventing runoff.
Monitor the sod closely; it should appear dark and pliable. If it begins to dry out or curl at the edges, increase watering frequency. Avoid walking on the newly laid sod as much as possible, as this can disrupt root establishment. Proper initial watering is the foundation for a healthy, resilient lawn, ensuring successful integration and long-term vitality.
Fertilization Schedule for New Sod
A carefully planned fertilization schedule is vital for new sod’s rapid establishment and robust growth. Avoid fertilizing immediately upon installation; allow the sod approximately two to four weeks to establish initial root contact. Begin with a starter fertilizer high in phosphorus – this promotes strong root development.
Follow up with a balanced fertilizer (e.g., 10-10-10) six to eight weeks after the initial application. Continue fertilizing every six to eight weeks throughout the growing season, adjusting the formula based on soil test results. Avoid over-fertilizing, which can burn the delicate new grass. Consistent, moderate feeding yields a healthier, more vibrant lawn.
Mowing Guidelines for Newly Laid Sod
Delay the first mow until the newly laid sod has firmly rooted, typically after about two to three weeks. This allows sufficient time for the grass to establish a strong connection with the underlying soil. When you do mow, set your mower blade to the highest setting – around 2.5 to 3 inches.
Avoid removing more than one-third of the grass blade height during each mowing session. Frequent, shallow mowing encourages denser growth and stronger roots. Gradually lower the mowing height over subsequent cuts, achieving your desired lawn height. Keep mower blades sharp to prevent tearing the grass, which can lead to disease.

Addressing Common Sod Levelling Challenges
Overcoming obstacles like steep slopes and poor drainage is key! Correcting these issues prevents settling, shifting, and ensures a beautiful, long-lasting lawn.
Dealing with Severe Slopes
Addressing significant slopes requires more than just basic levelling techniques. For pronounced inclines, consider implementing terracing – creating a series of level platforms supported by retaining walls. This dramatically reduces erosion and allows for stable sod installation. Alternatively, specialized erosion control fabrics can be used underneath the sod to help bind the soil together, preventing slippage, especially during initial watering and establishment.
Proper drainage is paramount on slopes; ensure water doesn’t pool, leading to instability. Incorporate drainage solutions like French drains or strategically placed swales to redirect water flow. When laying sod on a slope, ensure each row is firmly pressed into the soil, and consider using sod staples for added security. Remember, a gradual approach, combined with appropriate materials, is crucial for success.
Correcting Drainage Issues
Poor drainage is a common culprit behind sod failure, leading to root rot and uneven growth. Identifying low spots where water accumulates is the first step. Amending heavy clay soils with organic matter – compost, peat moss – significantly improves permeability. For persistent issues, installing a French drain system, consisting of a gravel-filled trench with a perforated pipe, effectively channels water away from the lawn.
Surface grading plays a vital role; ensure a gentle slope away from the house. Aerating compacted soil allows water to penetrate more easily. Consider incorporating drainage swales – shallow, vegetated channels – to redirect surface runoff. Addressing drainage proactively prevents long-term problems and ensures a healthy, thriving lawn.
Preventing Sod from Settling or Shifting
Newly laid sod is vulnerable to settling and shifting, especially on uneven ground or with heavy foot traffic. Thorough soil compaction before installation is paramount; a plate compactor ensures a firm base. After laying sod, a light rolling further secures it, promoting root-to-soil contact. Avoid walking on the sod immediately after installation, and restrict heavy use for at least two weeks.
Proper watering is crucial – keep the sod consistently moist, but avoid over-saturation. Staggering sod rows correctly interlocks the pieces, minimizing movement. For sloped areas, consider using sod staples to temporarily anchor the edges until roots establish. Consistent maintenance prevents future issues and ensures a stable, beautiful lawn.

Advanced Techniques for Professional Results
Elevate your lawn care! Utilize laser levels for precise grading and consider terracing steep slopes for stability and a visually appealing, professional finish.
Using a Laser Level for Precision
Achieving truly level ground demands precision, and a laser level is your ally. These tools project a visible line, indicating a consistent plane across your yard, far surpassing estimations with traditional methods; Begin by setting up the laser level on a tripod, ensuring it’s stable and correctly calibrated according to the manufacturer’s instructions.
Next, establish a benchmark – a fixed point representing your desired final grade. Rotate the laser level to project the beam onto this benchmark, adjusting the height until the beam aligns perfectly. Then, systematically check various points across the yard, using a laser receiver or grade rod to measure the distance from the beam. This reveals areas needing more or less soil.
Consistent monitoring and adjustments, guided by the laser’s unwavering line, guarantee a remarkably smooth and even surface, crucial for successful sod installation and long-term lawn health. This minimizes water pooling and promotes uniform growth.
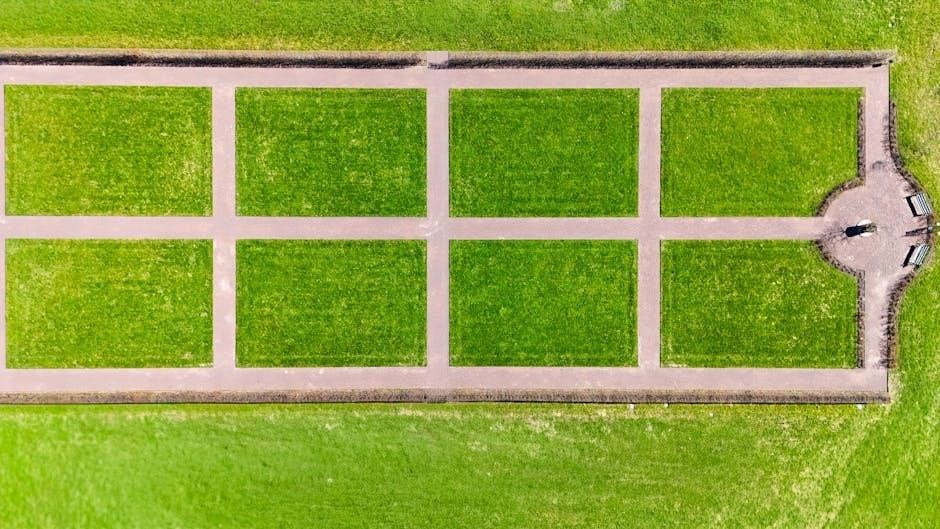
Implementing Terracing for Steep Slopes
For yards with significant slopes, terracing offers a practical and aesthetically pleasing solution. Instead of attempting to level a steep incline, create a series of level platforms, or terraces, supported by retaining walls. This breaks the slope into manageable sections, preventing erosion and facilitating easier maintenance.
Begin by carefully planning the terrace layout, considering the desired height and width of each level. Construct retaining walls using materials like timber, stone, or concrete blocks, ensuring they are structurally sound and properly drained. Backfill each terrace with suitable soil, compacting it thoroughly to provide a stable base for sod.
Terracing not only levels the usable yard space but also adds visual interest and creates opportunities for landscaping features. It’s a robust solution for challenging terrains, promoting both functionality and beauty.
Long-Term Sod Health and Maintenance
Sustained lawn vitality requires consistent care! Regular aeration improves soil health, effective weed control prevents competition, and proactive pest management ensures longevity.
Aeration for Improved Soil Health
Aeration is a crucial practice for maintaining a thriving lawn after sod installation. Over time, soil becomes compacted due to foot traffic, rainfall, and general settling. This compaction restricts the movement of essential elements – air, water, and nutrients – to the grass roots. Core aeration, which removes small plugs of soil, is particularly effective.
This process alleviates compaction, allowing for better root growth and deeper penetration. Deeper roots translate to a more resilient and drought-tolerant lawn. Aeration also encourages the breakdown of thatch, a layer of dead organic matter that can accumulate between the grass blades and the soil surface. Ideally, aerate cool-season grasses in the fall and warm-season grasses in the spring. Regular aeration, typically annually or bi-annually, will significantly contribute to long-term sod health.
Weed Control Strategies
Proactive weed control is essential for a beautiful, healthy sod lawn. A dense, well-maintained lawn naturally suppresses weed growth, but preventative measures are still vital. Pre-emergent herbicides, applied in early spring, prevent weed seeds from germinating. Post-emergent herbicides target existing weeds, but careful selection is crucial to avoid damaging the sod.
Always follow label instructions precisely when applying any herbicide. Hand-pulling weeds, especially when they are young, is an effective organic method. Maintaining proper mowing height also discourages weed establishment. Consider overseeding thin areas to promote denser growth and outcompete weeds. A healthy lawn is the best defense against unwanted vegetation, reducing the need for chemical interventions.
Pest and Disease Management
Protecting your newly levelled sod from pests and diseases is paramount for long-term health. Common sod pests include grubs, chinch bugs, and sod webworms, which can cause significant damage. Regularly inspect your lawn for signs of infestation, such as brown patches or chewed grass blades. Implement preventative treatments, like beneficial nematodes, to control grub populations.
Fungal diseases, such as brown patch and dollar spot, thrive in humid conditions. Ensure proper air circulation and avoid overwatering to minimize disease risk. If diseases appear, apply appropriate fungicides according to label instructions. Early detection and prompt treatment are key to preventing widespread damage and maintaining a vibrant, pest-free lawn.